In photography, lighting is not just one element. It is the thing that breathes life into an image. Whether you are just starting out or you have been shooting for years, getting comfortable with light is the skill that lifts your work the most. Here is a friendly tour of how to use lighting in a studio, and how to make it work for you.
Why lighting matters
Light sets the mood, brings out detail, and gives a photo depth and dimension. A studio gives you a controlled space to shape that light exactly the way you picture it, instead of chasing whatever the day hands you.
The types of light you will work with
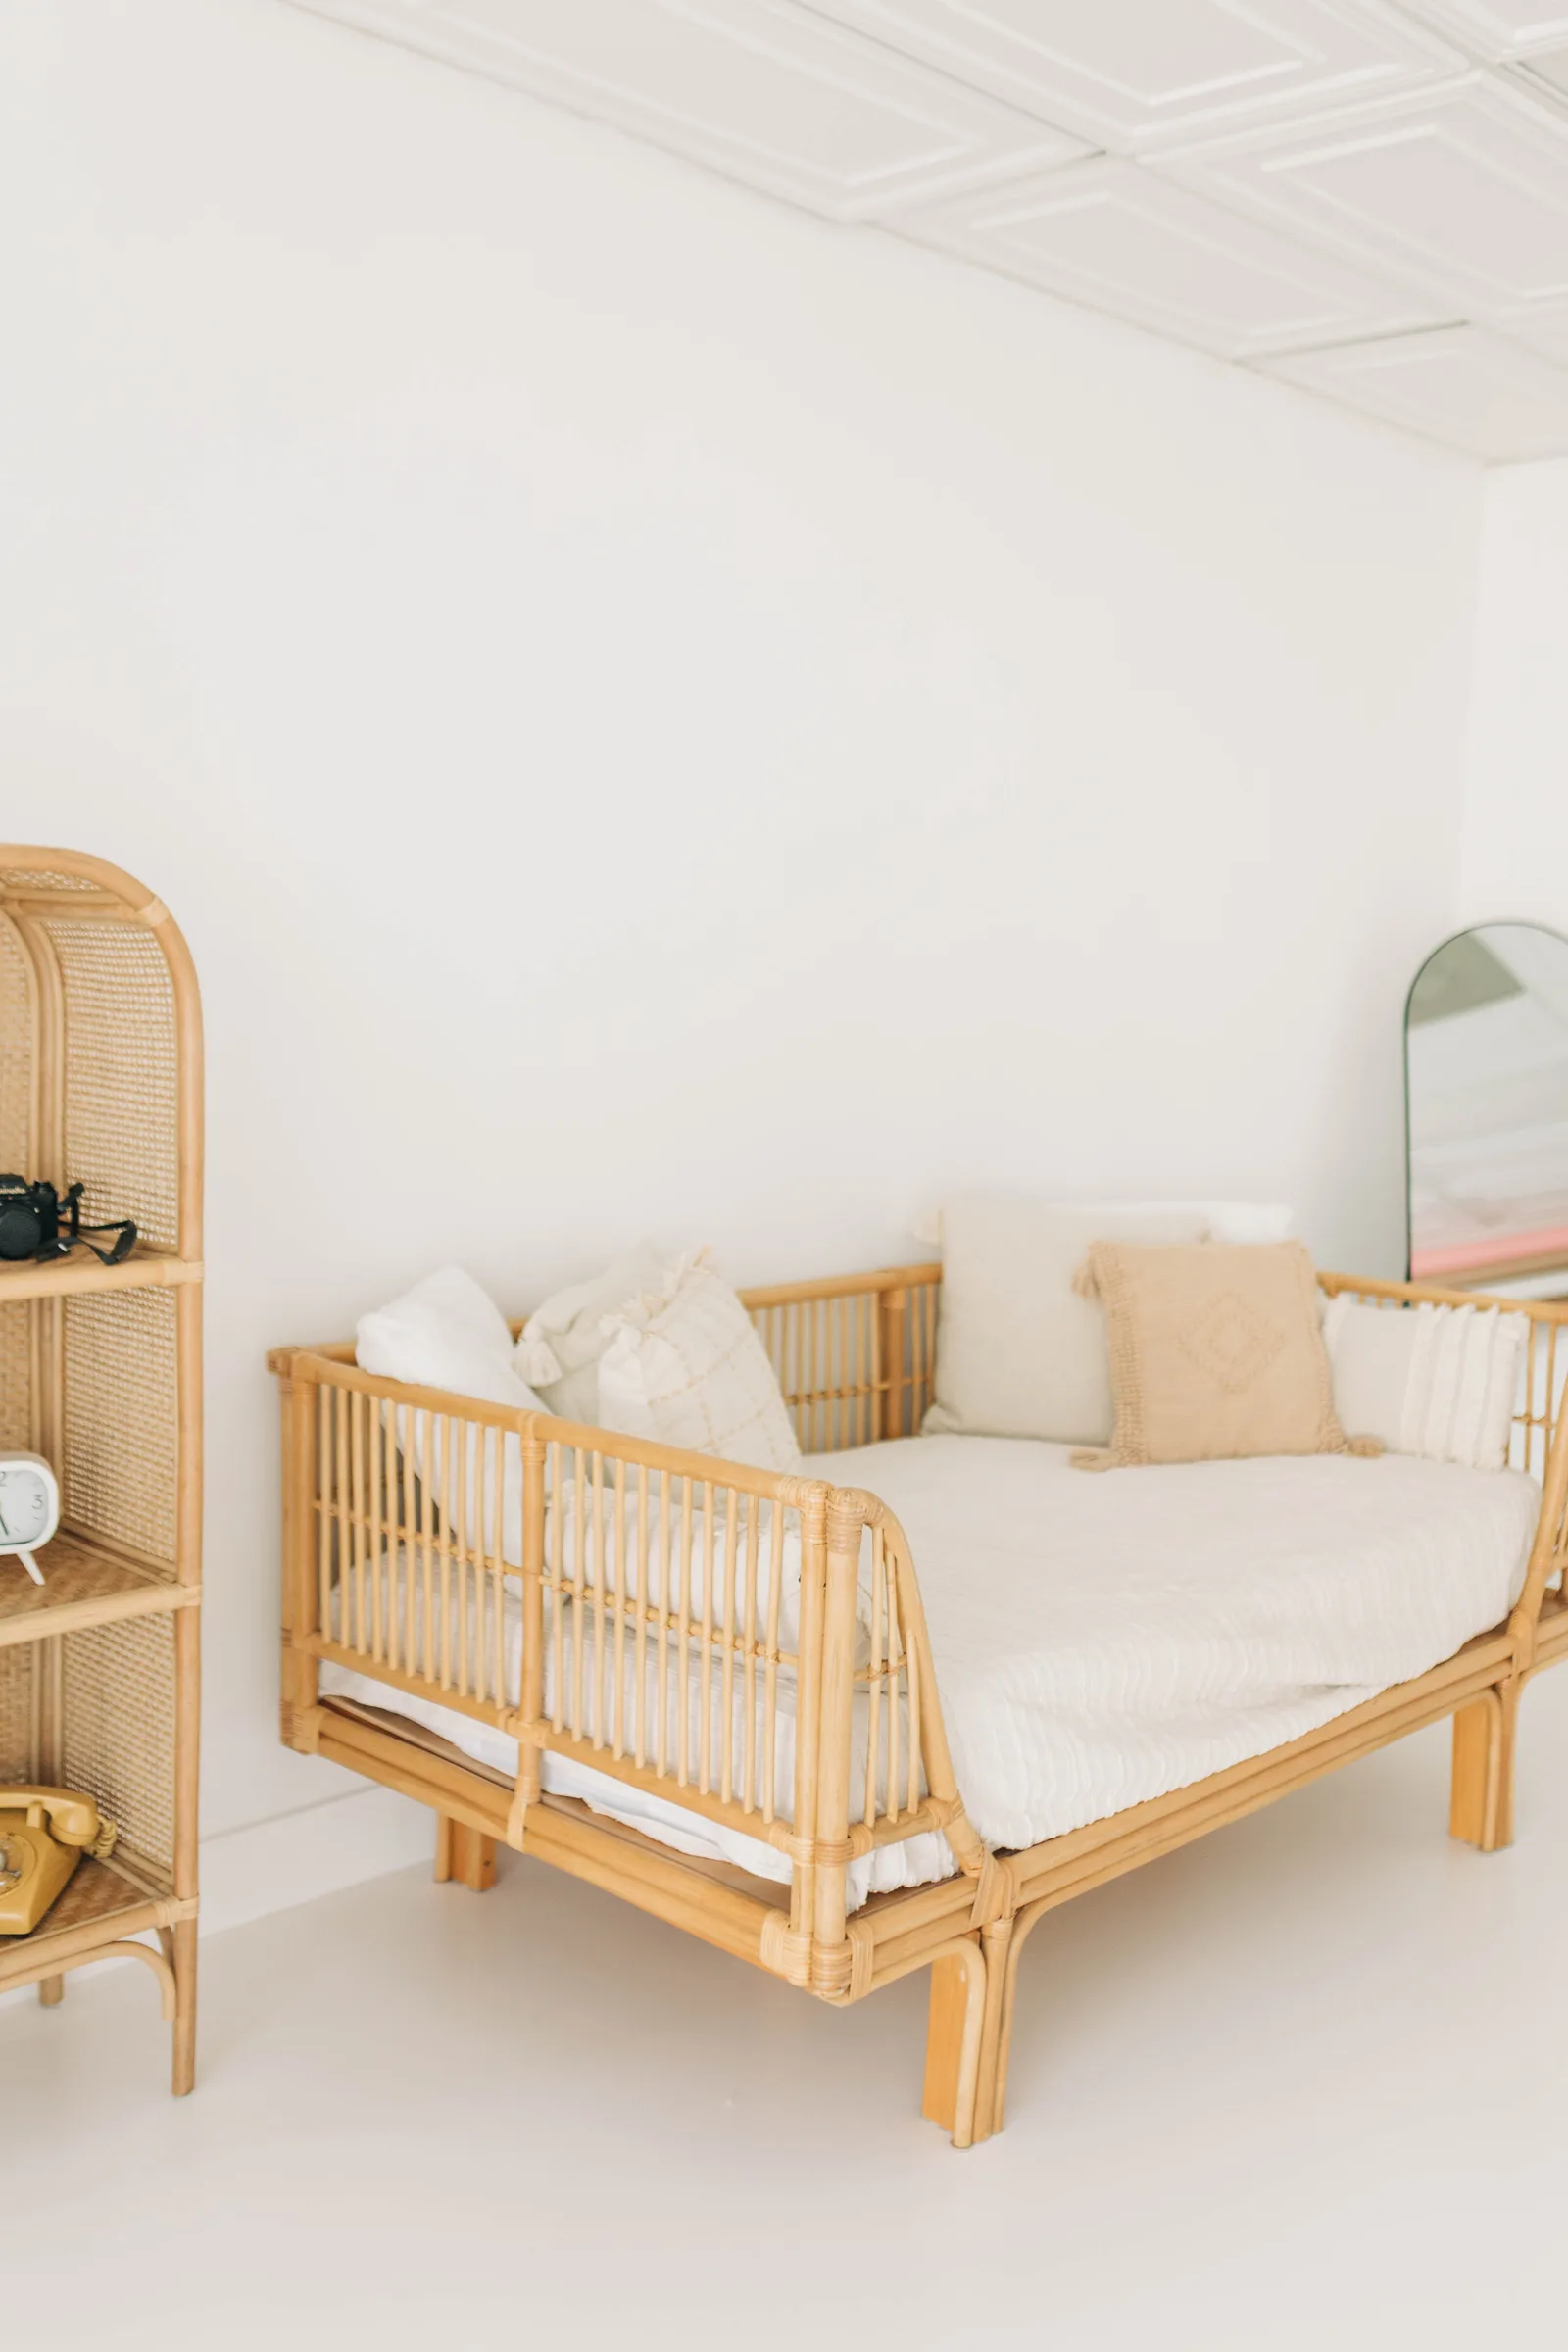
- Natural light. Big windows give you soft, flattering, versatile light that is lovely for portraits, still life, and fashion. It is the heart of what we do here.
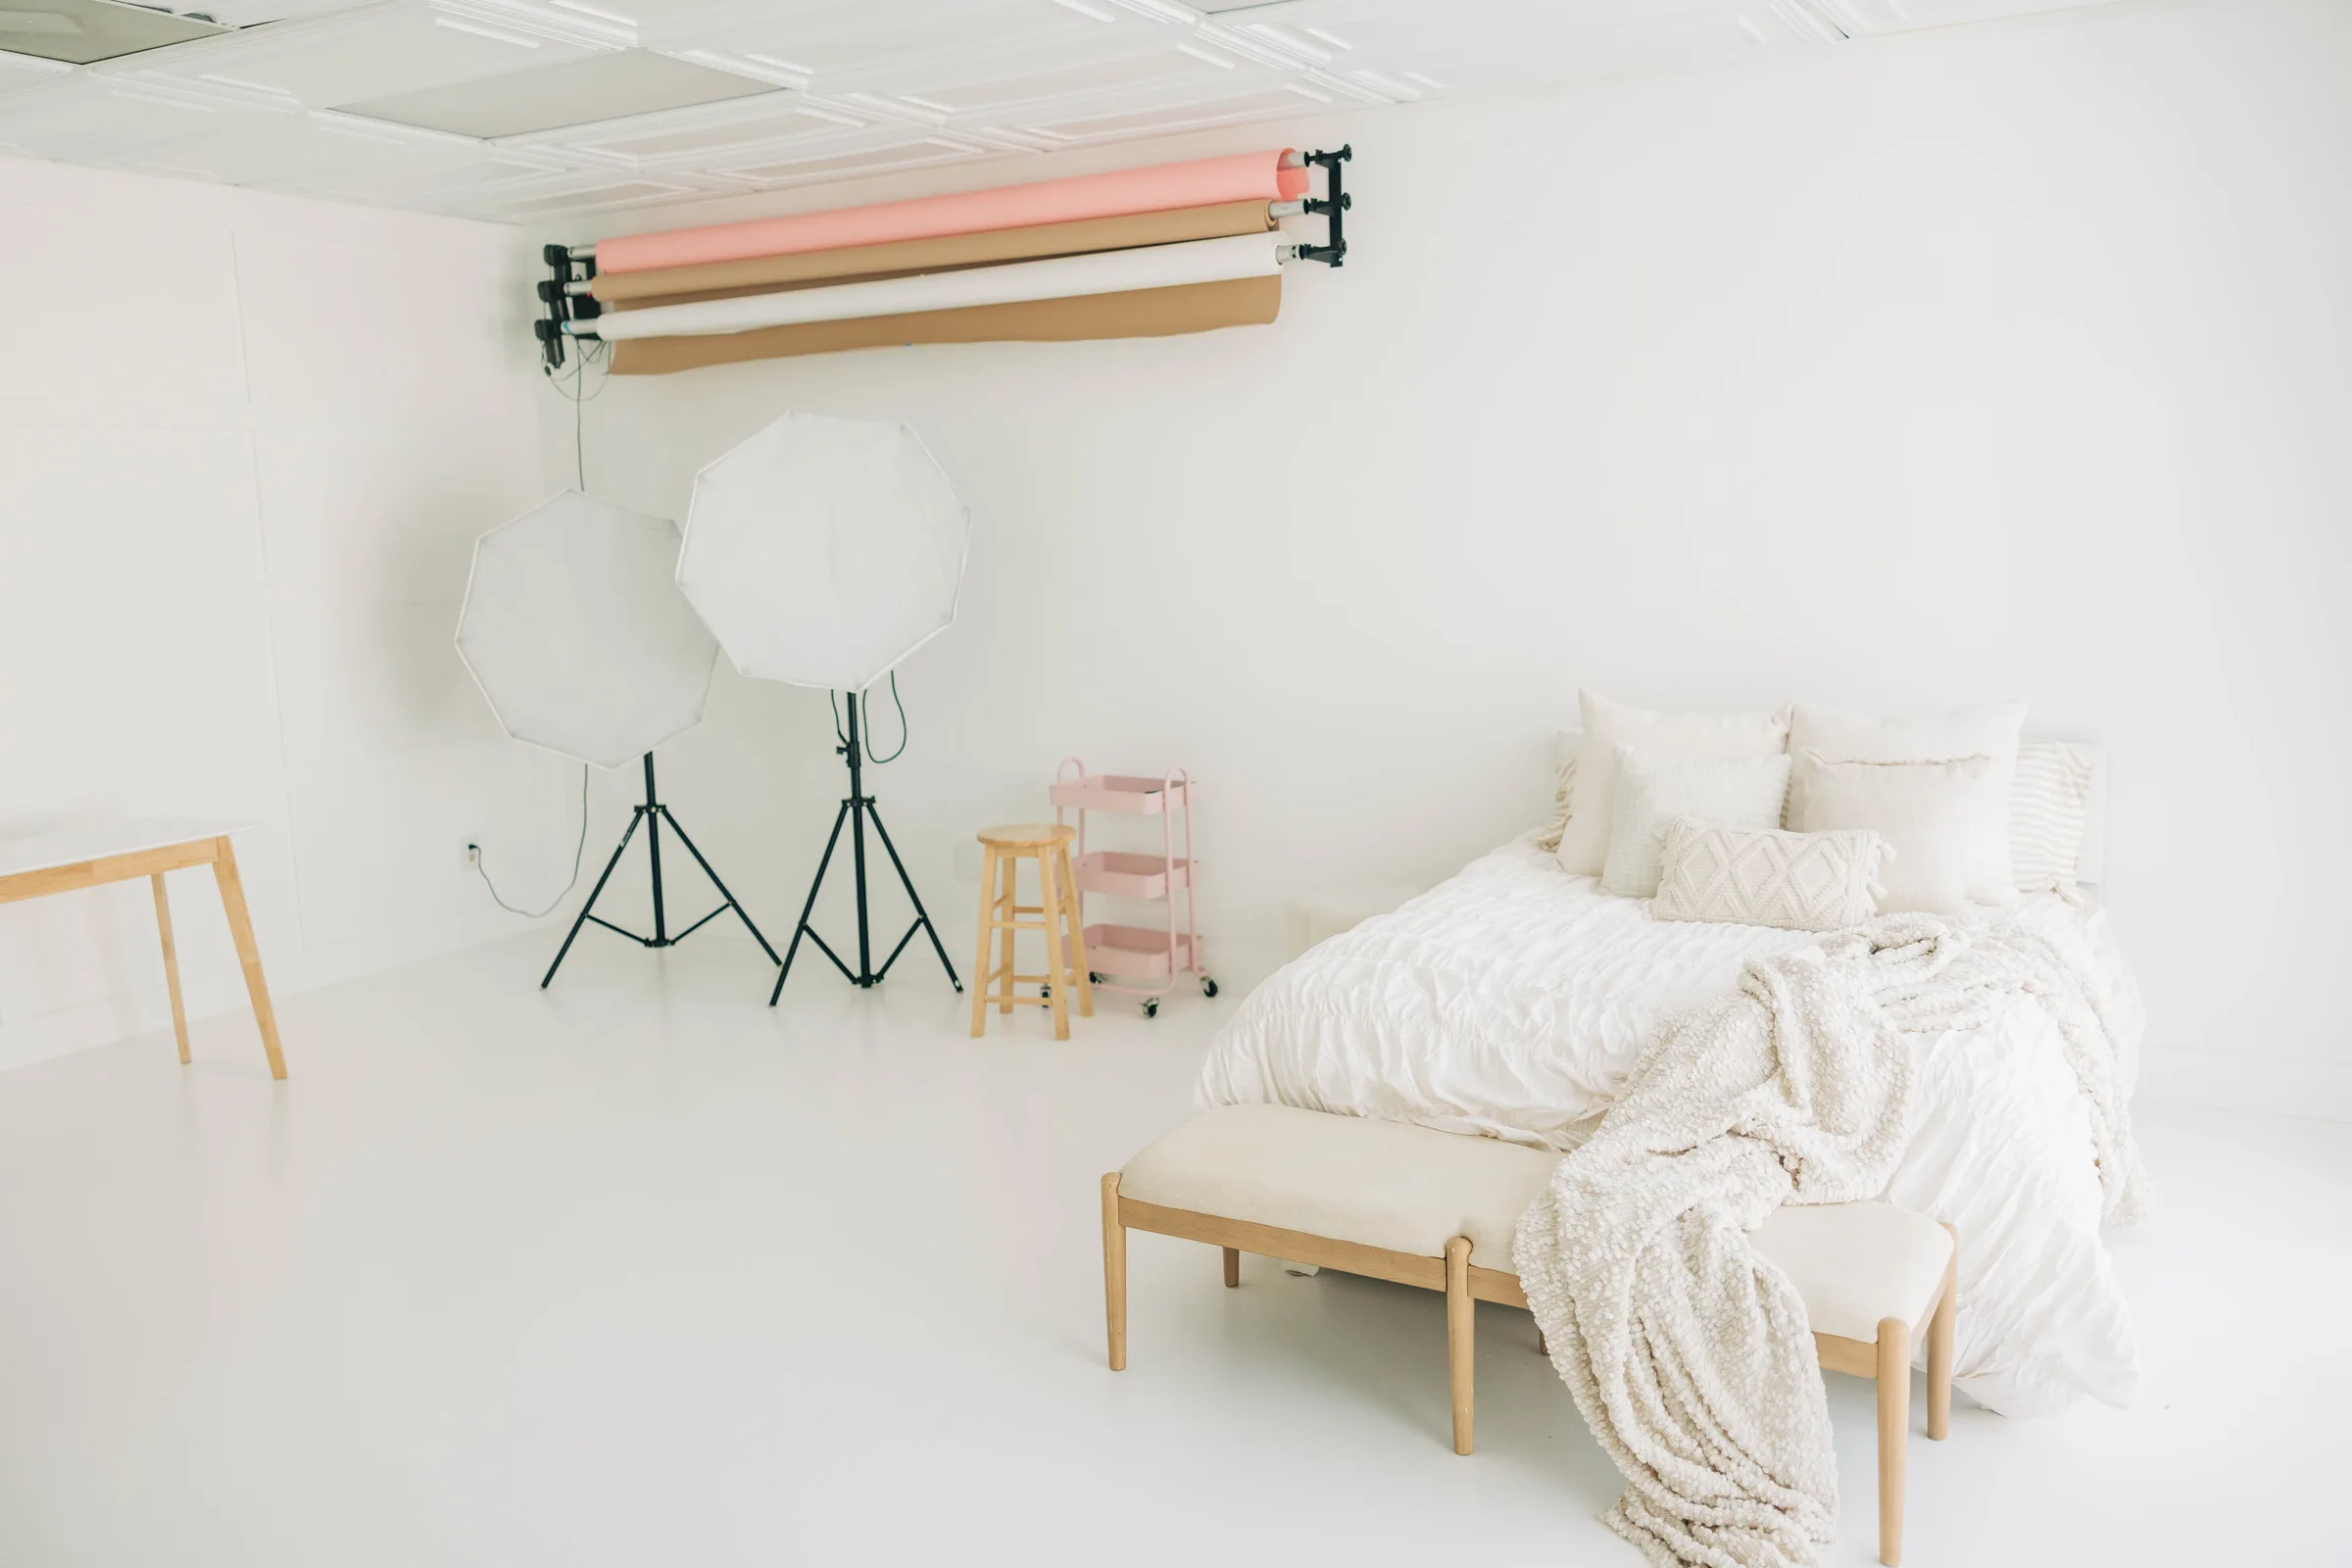
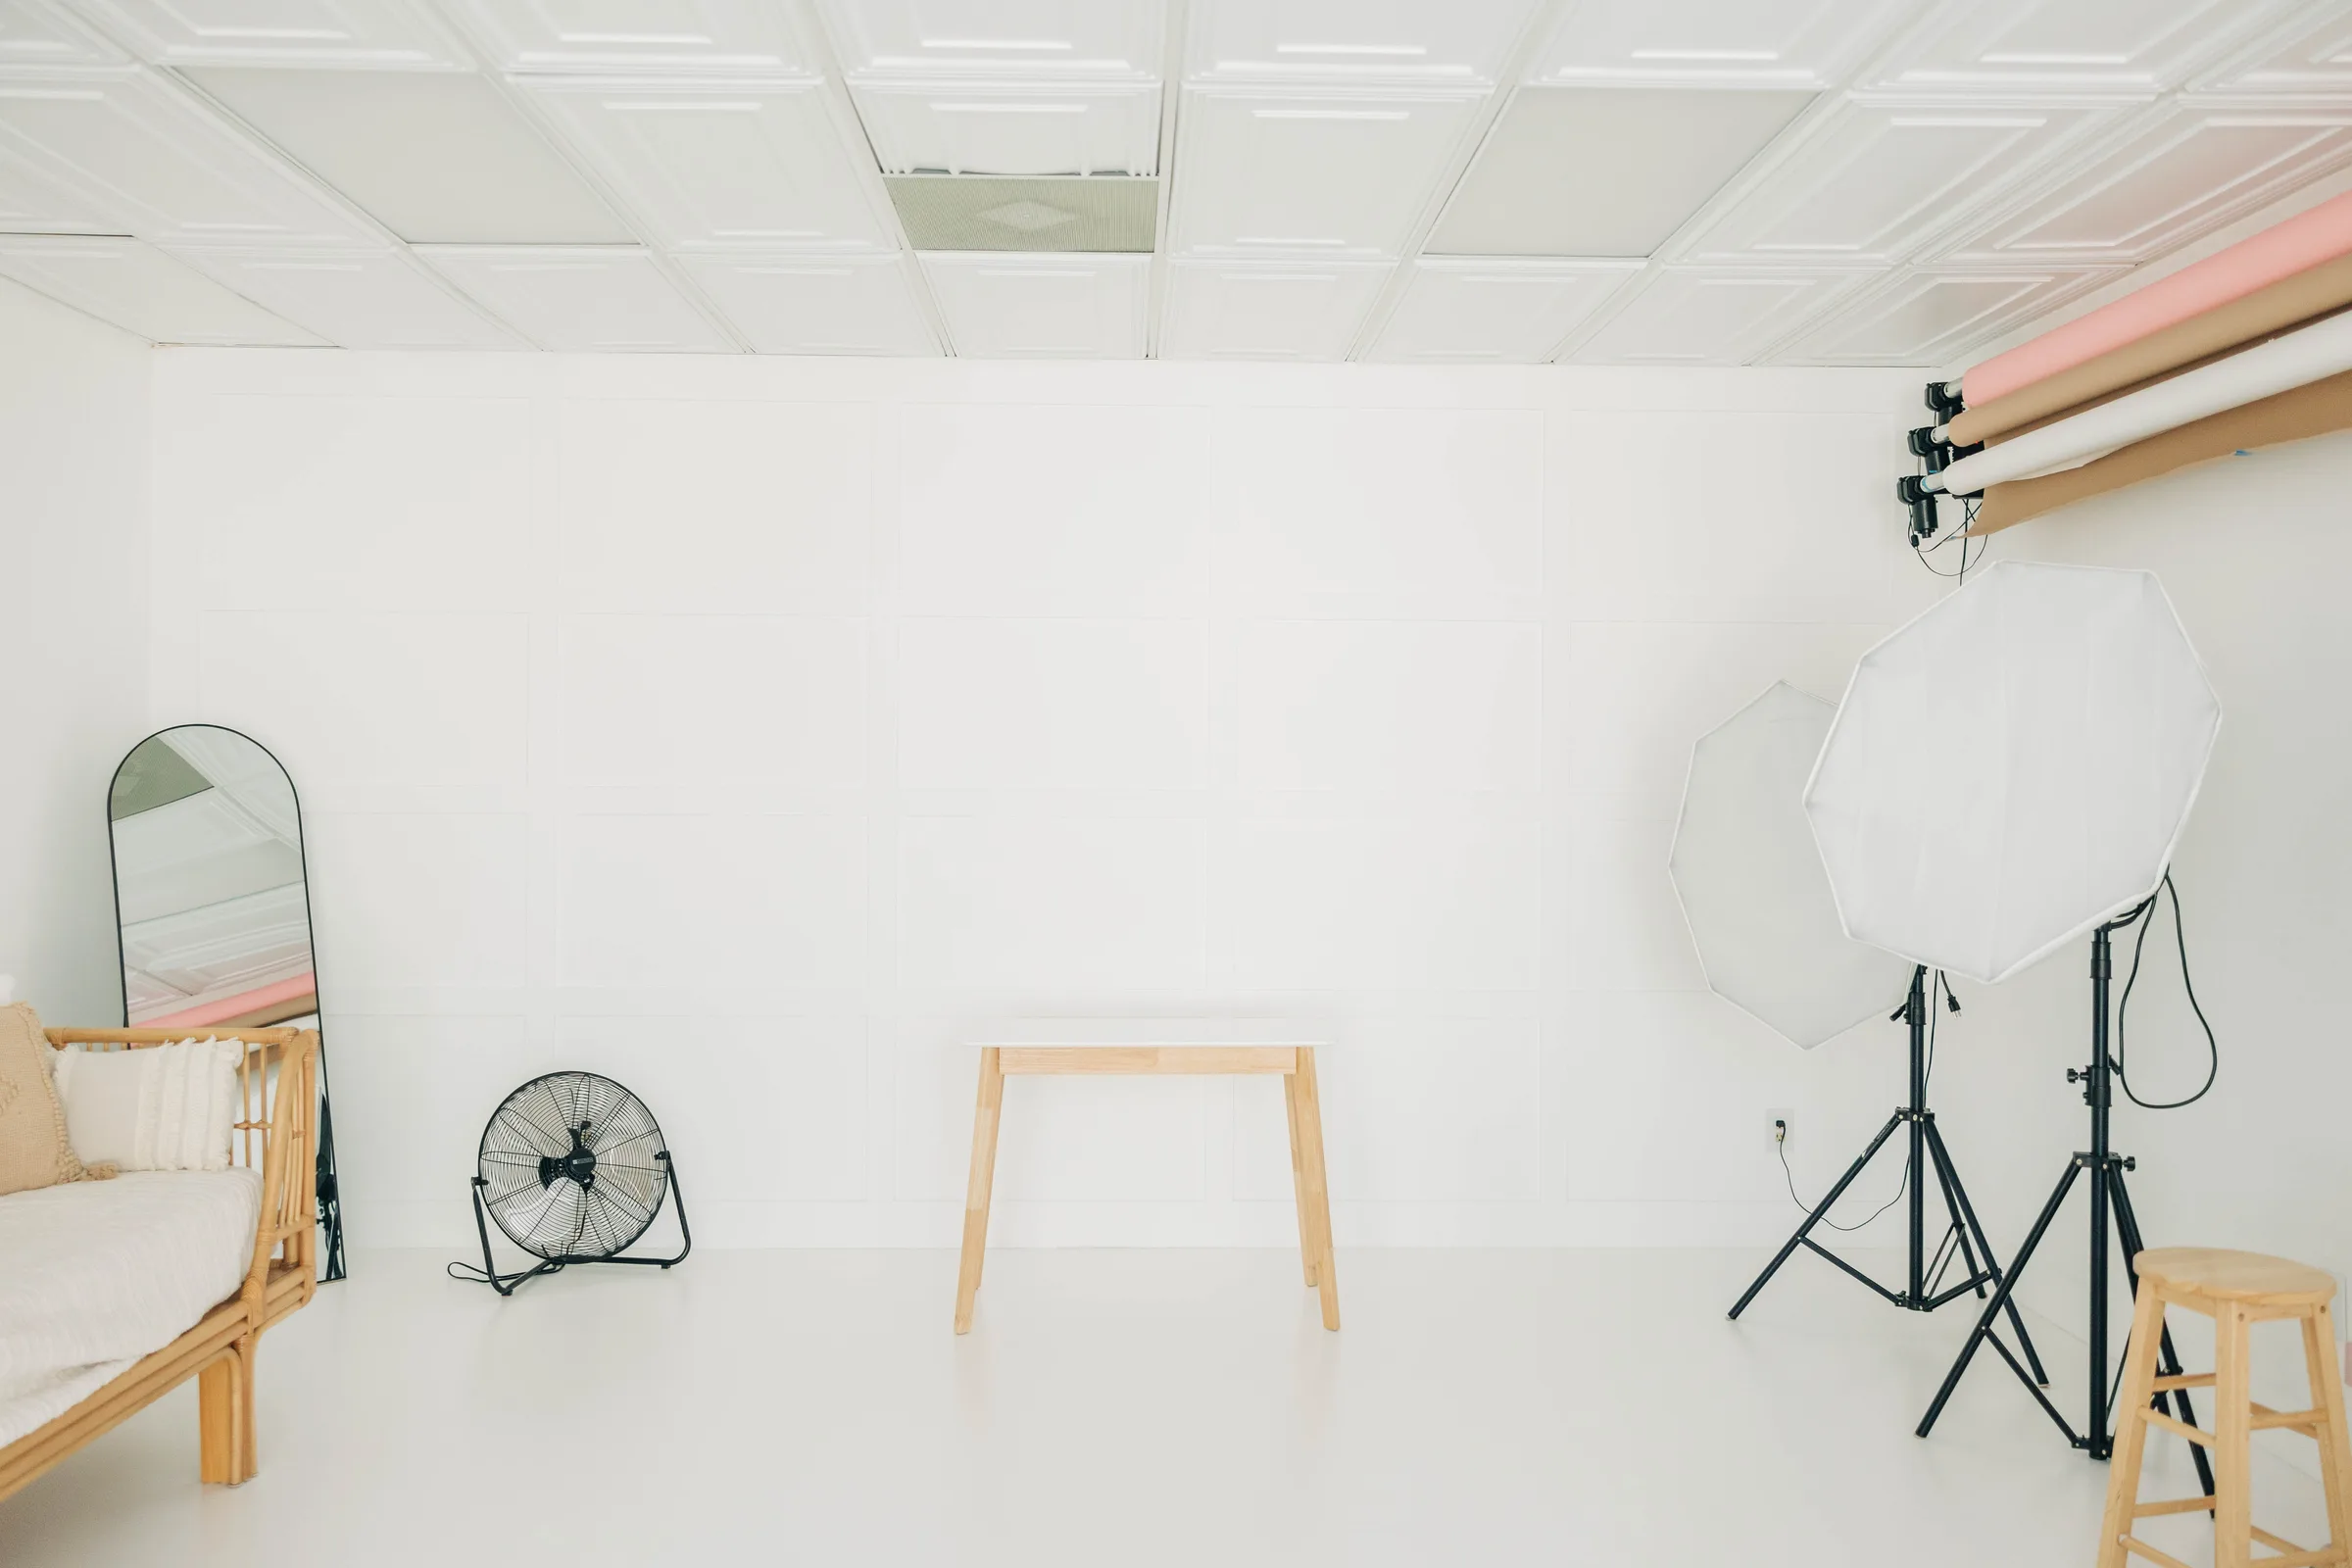
- Continuous light. A constant source you can see in real time, which makes it friendly for video and for learning how light falls.
- Strobe and flash. Powerful bursts that freeze motion and add drama when you want a bolder look.
Classic setups worth knowing
- Three-point lighting. A key light, a fill light, and a backlight working together to add dimension and soften harsh shadows. A dependable starting point for almost anything.
- Rembrandt lighting. That little triangle of light under one eye, for portraits with mood and depth.
- Butterfly lighting. Key light placed in front of and above your subject, a favorite for glamour and beauty work.
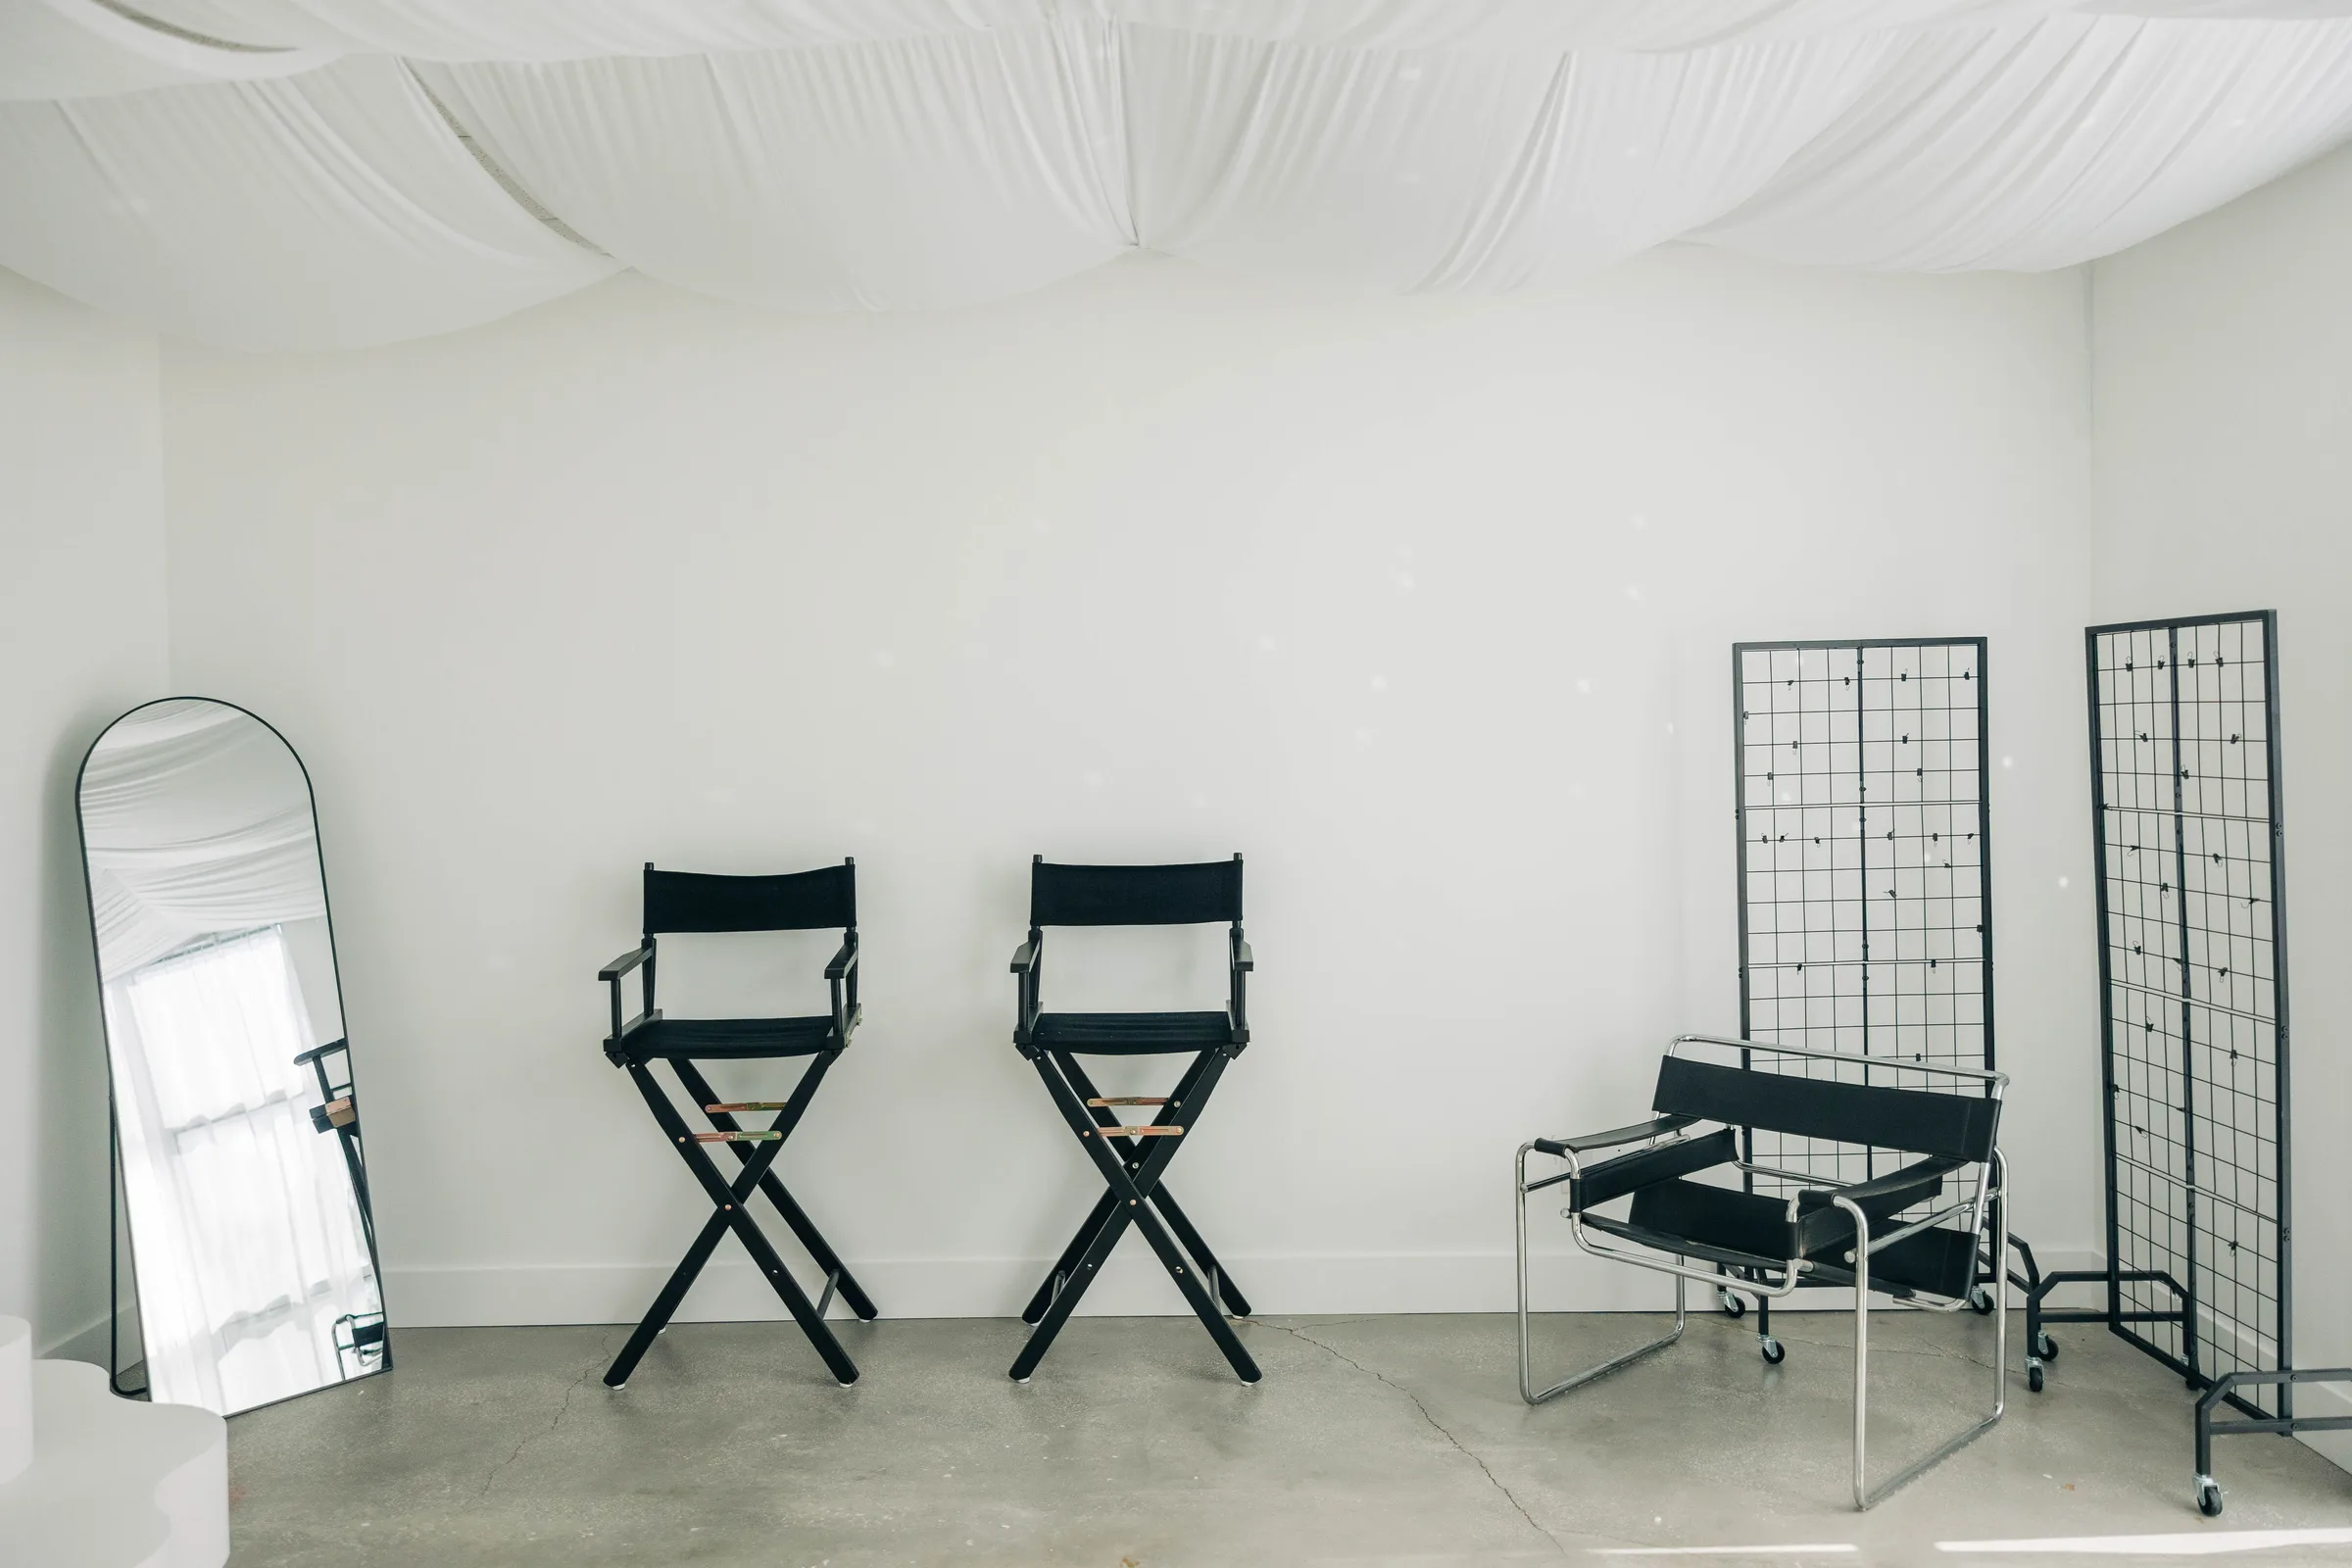
Modifiers that change everything
- Softboxes. Soft, even light that flatters portraits and product alike.
- Umbrellas. A broader, softer spread for a wide range of looks.
- Reflectors. Bounce light back into the shadows to even things out, no extra power needed.
Balancing your exposure
Set your white balance to match the light so your colors stay true. Then balance aperture, shutter speed, and ISO together to hold the mood you are after. The exposure triangle is your friend here.
Have fun with it
The best way to learn light is to play with it. Move your source around, try colored gels for a bit of mood, and take test shots early so you can adjust before the real frames. Bring your subject into the process too. Some of the best images come from a happy experiment.
Come put it into practice
The fastest way to get better with studio light is to spend time in one. Our space is built around big, beautiful natural light, with room to add your own setup on top of it.
Want to try it for yourself? Book the studio by the hour at SMP Creative Studio in Altamonte Springs.